1. Prepare your surface
Make sure the plasterboard is cut back cleanly at the corner edges and the surface is free from dust.
If the surface is dusty on application, it could affect the adhesion.
2. Measure and cut
Measure and cut Gyproc AquaBead to the length required using light-duty snips.
When creating a mitre joint simply undercut the angles so they don’t meet and allow space so that the arms don’t touch.
3. Spray with water to activate adhesion
Use clean water in a handheld spray pump to ensure even coverage.
Spray 20-30cm away from the bead.
Spray evenly from top to bottom making sure you cover all edges and ends of the bead.
Do not wipe down with a sponge or cloth as it can remove the adhesive.
4. Allow 15 to 60 seconds for the adhesive to activate
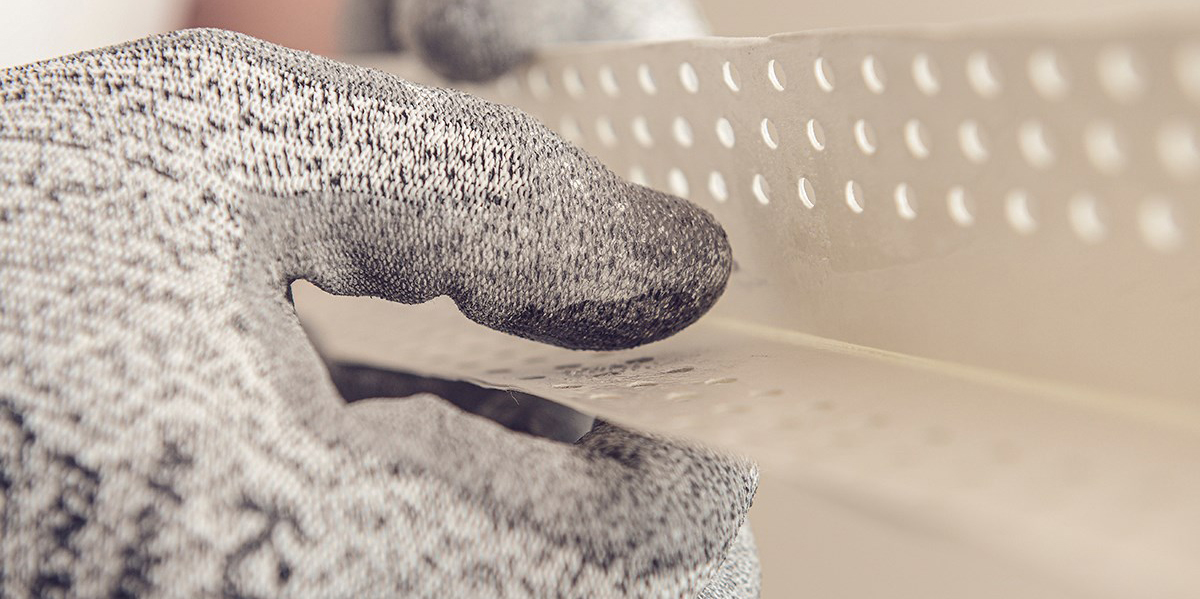
You can determine when the bead is ready for application by pressing your finger on the adhesive, which should be sticky to the touch.
If you find that the bead has dried out just spray again and wait for the adhesive to re-activate.
5. Press your bead onto the wall corner
You can do this by hand or if installing a large number of corners use a roller.
Ensure good contact between the edges of the bead and the plasterboard.
Make sure you press firmly with even pressure across the whole edge.
6. Wait
Once installed wait 30 minutes before applying your first coat of Gyproc Joint Filler or Gyproc QuickSand Joint Cement.
For more information on Gyproc AquaBead or for a quote, please contact your local Minster branch here.
